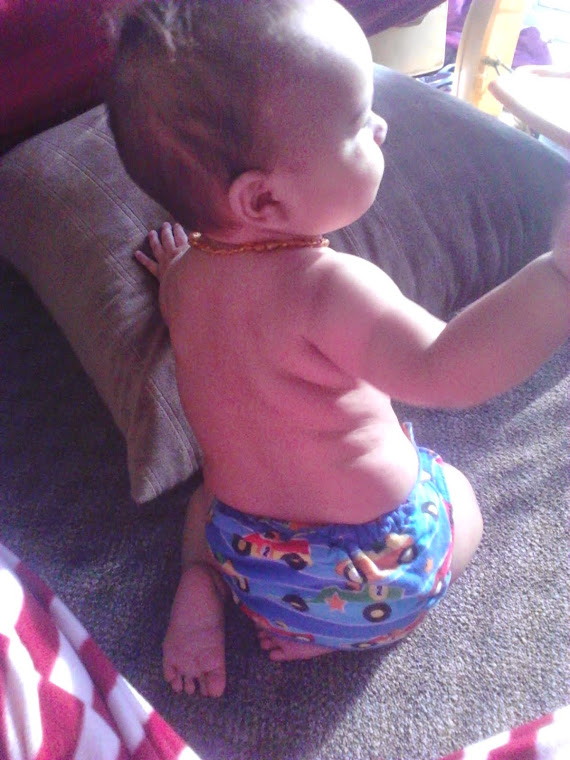
In this tutorial we will be making a hybrid fitted (HF) cloth diaper.
Before starting any sewing, prewash and iron all fabrics. Prewashing shrinks before sewing. Not doing this can make things wonky after first wash. Ironing makes any sewing project look better. Please note I do not use snaps because I prefer pins as they give a better fit. If you are using snaps, add these before sewing.
You will need:
•any diaper or cover pattern of your choice.
• any soaker pattern or cut oval to fit inside your diaper pattern.
•water resistant fleece
•absorbant fabric
•elastic 3/8 braided
•universal thread
*optional stay dry fabric and decorative outer.


We will start with the soakers. For this I make 2 soakers to divide up the number of layers. For a soker you need absorbent fabric. A stay dry topper is optional. The number of layers depends on fabric choice. The fabric reference page (listed on right side of page) will help. I have chosen:
Bottom Soaker:
Hemp fleece, flannel, hemp fleece.
Top Soaker:
Hemp fleece, flannel, microfleece (stay dry topper).
Layer your fabrics with middle layer(s) on bottom, then bottom layer (bottom side up), top layer (top side down).

Lay all your fabrics with edges matching. Pin if needed (based on skill and fabric). Sew around the edge leaving one side (not end) of the soaker open. Trim off your seam allowance. Repeat with second soaker.

Turn your soaker right side out and iron. Pin open edge closed turning hem in. Sew around the edge cloaing open seam in the process. You have now turned and top stitched (t&t) your soakers. I added contour stitching about an inch in. This helps distribut wetness. Vertical stitches do the same. Set these aside.

Next we are doing the shell.
You need:
1 layer water resistant fleece
1outer layer (decorative or 2nd layer of water resistant fleece.
I used Arctic fleece and a decorative layer of 2 prints I sewed together (tutorial on cinbining knit and woven for decorative outer found in January 2015 archive)
Place right sides together and pin.

Sew around the edge of these diaper cuts. Leave the front of the diaper open.
Next we add elastic. Turn your stitch dial to zigzag. Tack down elastic in the seam allowence, stretch as tight as possible and tack down on other end. This gives a tighter elastic then a oremeasured amount. Stretch as hard as possible. You need to do this at the back and both legs. Trim seam allowence except where elastic is tacked.


Turn right sides out. Set your stitch dial back to straight stitch. Pin opening closed turning hem in. Now you are going to top stitch. But as you get to the start of each elastic come out to the side of the elastic. Lower needle into fabric. Stretch area holding behind start of elastic and in front of the end of the elastic. Keep the fabric pulled taunt, elastic fully stretched. Sew along side the elastic but not through it. You have now cased the elastic. Come back in close to edge where there is no elastic. Do this up one leg, across back, down the other leg.

Your almost done!
Sew the bottom soaker to the back of the shell, below the elastic.
Sew the top soaker to the front of the diaper.


No comments:
Post a Comment